Project Tasks and Kanban Board
By ERPNext Administrator on October 8, 2024
BeginnerIn project management, a task is an actionable unit or activity which needs to be completed.
To access Tasks, go to,
Home > Projects > Task
How to Create a Task
1. Access the Task Module:
- From the ERPNext dashboard, navigate to the left panel and click on "Project" to open the project module.
2. Go to the Task Menu:
- Within the Project module, find and select the "Task" option from the menu.
3. Create a New Task:
- Click on the  button to create a new task.
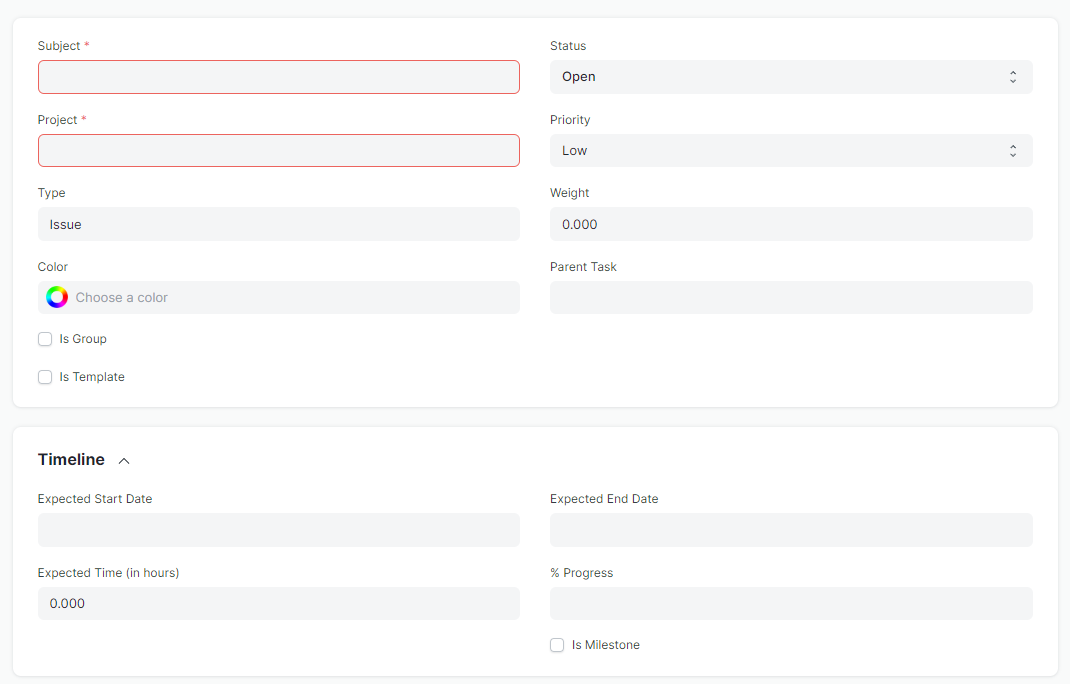
4. Fill in Task Details:
- Subject: Give a brief title or name for the task.
- Project: Select the project that this task is associated with.
- Task Type: Choose the appropriate task type (e.g., Research, Development, Design, etc.).
- Status: Set the current status of the task (e.g., Open, Working, Completed).
- Priority: Assign a priority level for the task (e.g., Low, Medium, High).
- Start Date and End Date: Specify the planned start and end dates.
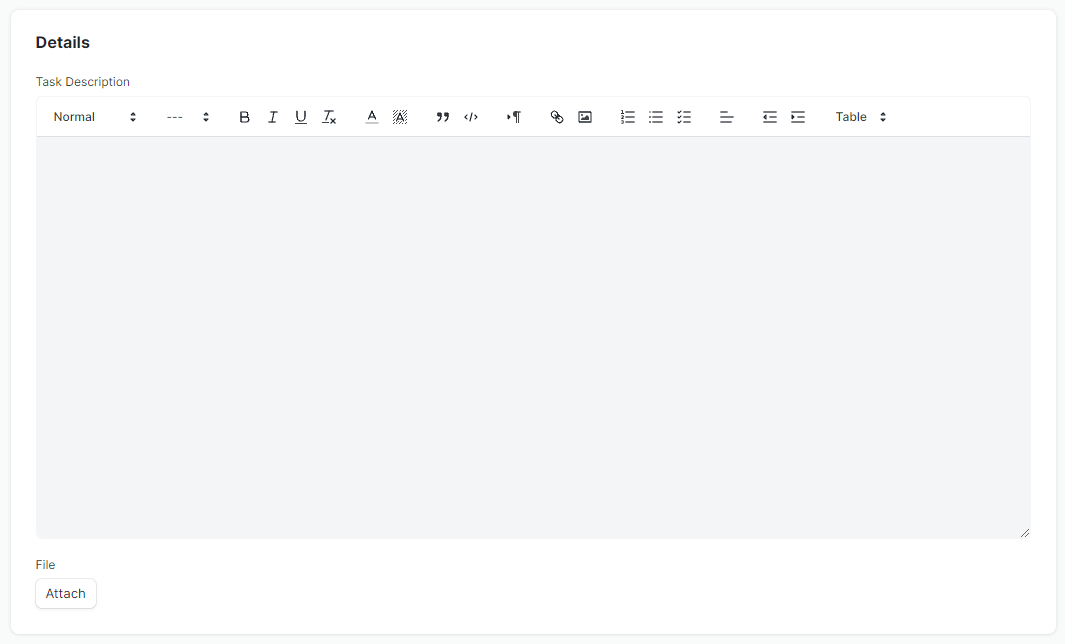
- Description: Provide a detailed description of the task, if needed.
- Parent Task: If this task is a sub-task of a larger task, select the Parent Task to link them together.
- is Group : Enable this if the task will serve as a group of tasks, meaning it will have sub-tasks.
- Color : Choose a color to visually categorize or distinguish the task.(Gantt view)
- Description: Provide a detailed description of the task, if needed.
5. Assign the Task:
- In the "Assigned To" section, assign the task to a user or multiple users responsible for completing it.
6. Link to Other Documents (Optional):
- You can link the task to other documents such as an Issue, Sales Order, or Purchase Order.
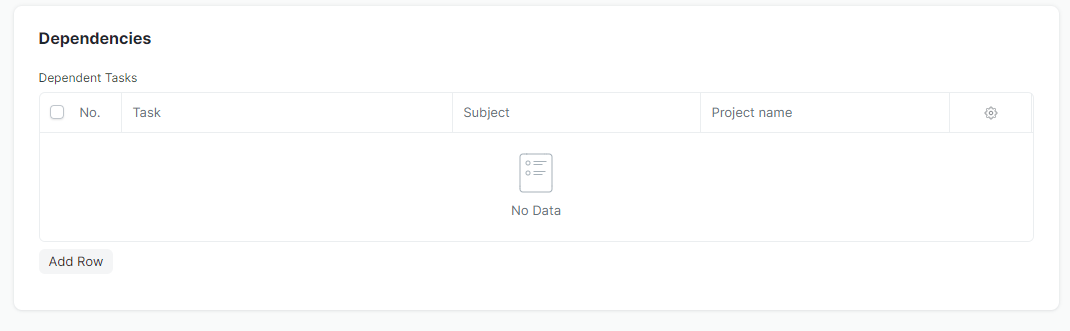
7. Set Task Dependencies (Optional):
- If the task depends on other tasks being completed, you can add dependencies in the **"Depends On"** section.
8. Save the Task:
- Once all the information is entered, click "Save" to create the task.
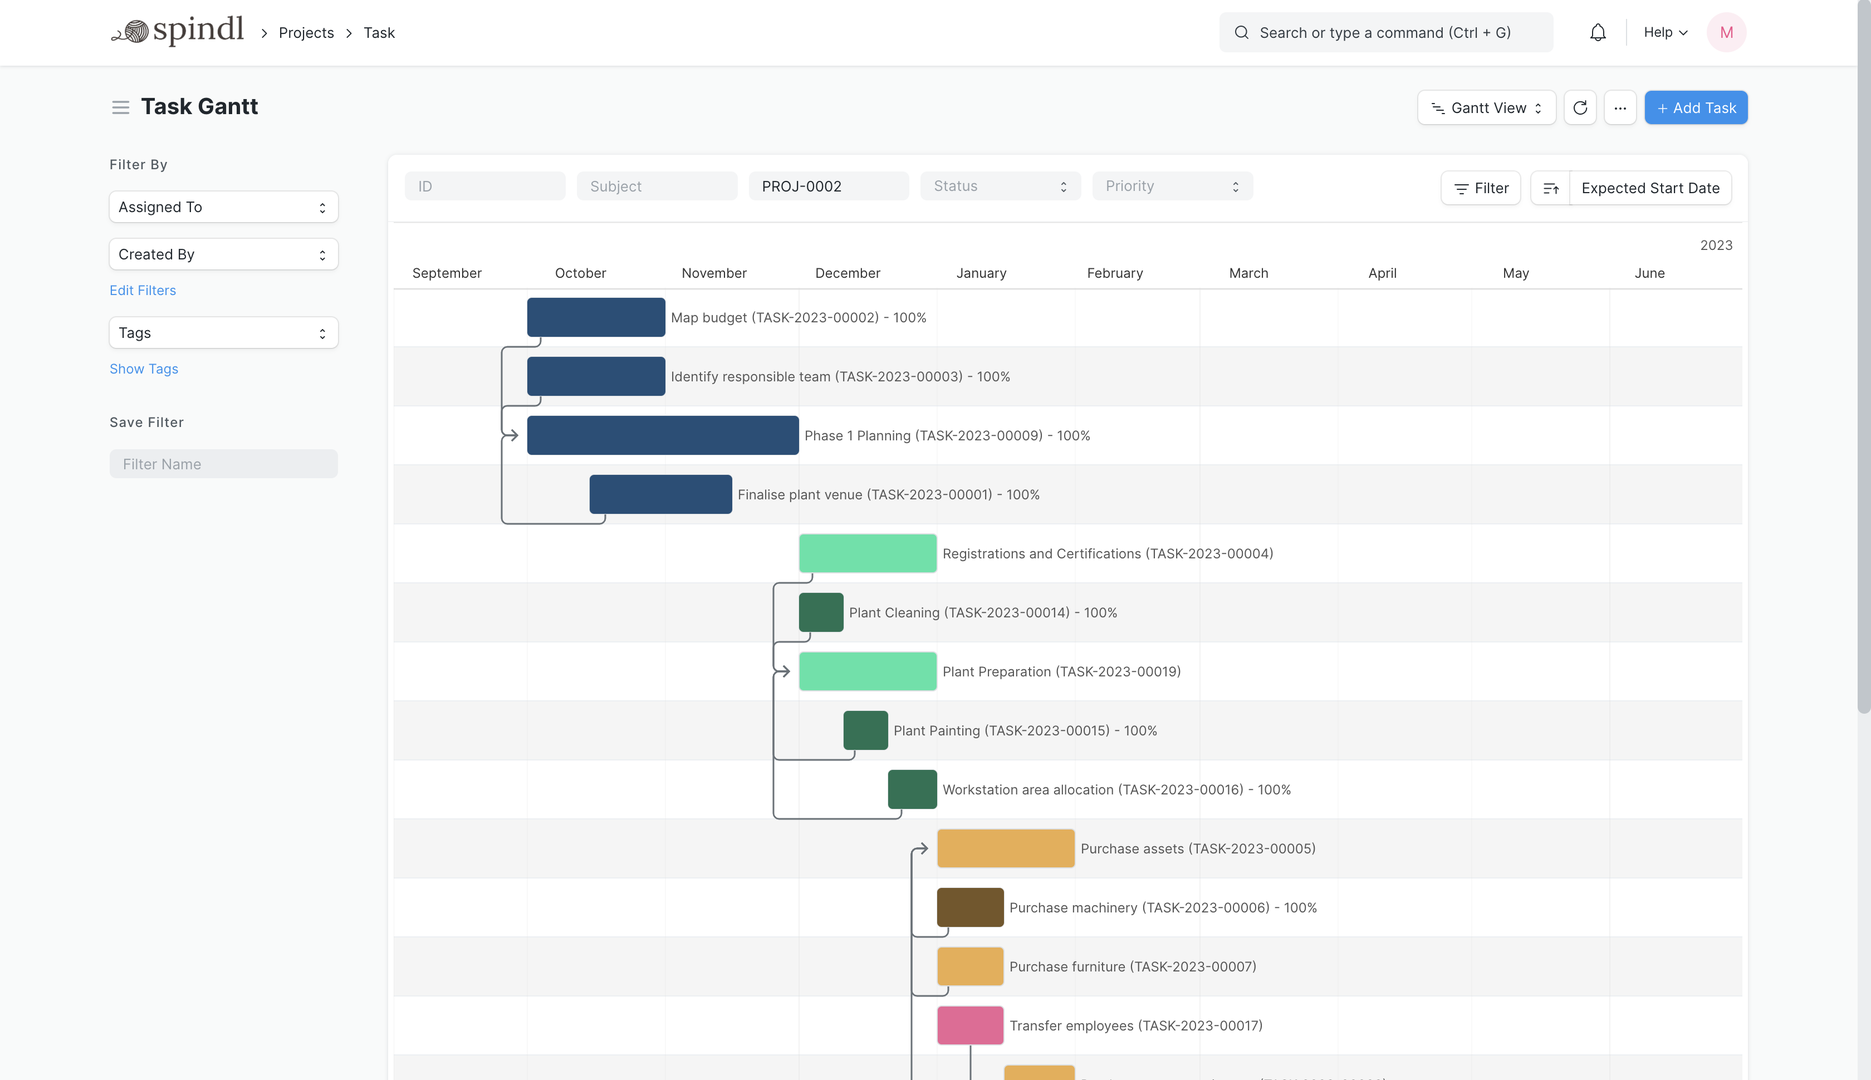
Task Gantt
In ERPNext, you can easily view tasks in Gantt View. Simply go to the Task Module and click on the "Gantt" button in the top-right corner. The system will display tasks in a timeline format, showing their progress and dependencies. You can also drag and adjust the start and end dates of tasks directly in the Gantt View, making it easier to plan and manage your project efficiently.
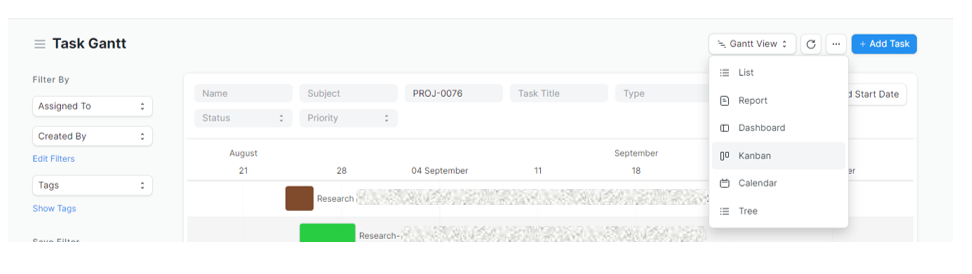
Kanban View
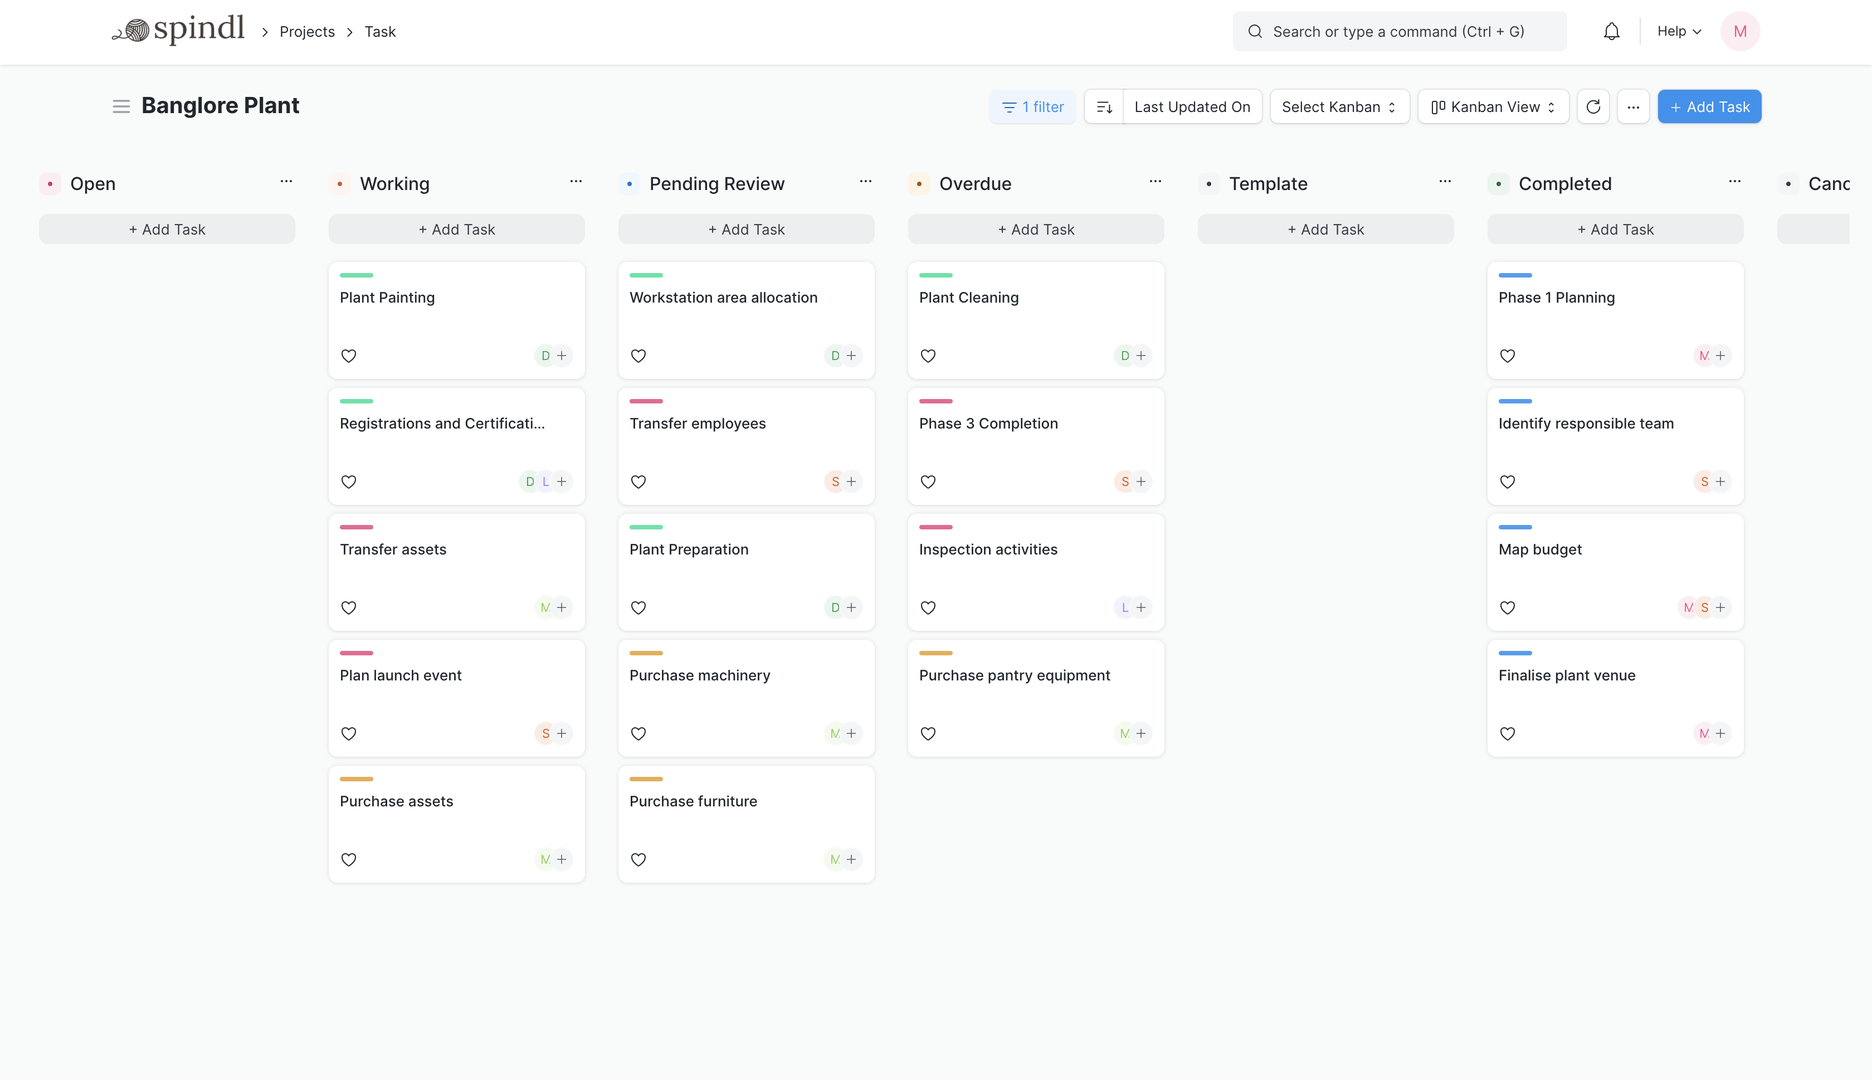
Kanban Board is a tool which will give you a descriptive layout of your data in ERPNext based on status and a virtual board.
This board shall consist of cards which represent the various Documents listed in a particular Document Type aligned as per the stage of operation of the transactions represented by Status Columns. The card status can be changed easily by dragging and dropping the cards across the board.
A Kanban Board helps to visualize, control and optimize work-flow while collaborating with the entire team on a real-time basis.
Adding new Card/Document
To add Cards on Kanban Board click Add Tasks. You can Edit card details by click on the card and it will take you to the Task Doctype where you can further add and edit card details.
Update Cards/Document Status
Based on the Task status you can drag and drop the cards in the respective column. For example, if the task is work in progress you can move the card for the task from the status Open to Working.
Manage Columns
To add more columns in the Kanban board click on Add columns.
You can also assign colors to columns.
You can also Archive and Restore the columns added in a Kanban board. To do so click Archive in the drop-down menu on the card. Once archived you can restore the column from the list of the archived columns in the Kanban board.
Filters
You can create multiple Kanban Boards based on different filters. To save filters for a Kanban Board, click on Menu and then "Save filters".
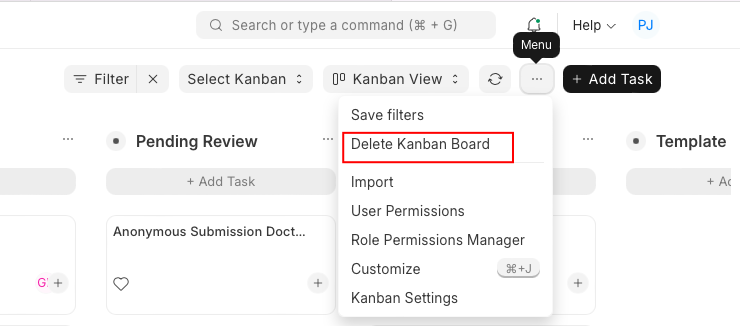
Deleting a Kanban Board
The menu provides an option for the user to delete the Kanban Board.
Please find the available Kanban Boards at the link below:
https://erpnext.technobrave.asia/app/query-report/Kanban%20Boards%20List
More articles on User Guide for Employee