Timesheet
By ERPNext Administrator on October 8, 2024
BeginnerA Timesheet is a crucial tool in ERPNext used to record employee work hours, track project costs, and manage billing for time-based services.
This guide walks you through the key functionalities of timesheets: creation, saving, submitting, and the advantages they offer.
For our company policy, we will create one timesheet per day.
To access Timesheet, go to,
Home > Projects > Timesheet
1. Timesheet Creation
To create a new timesheet in ERPNext, follow these steps:
- Go to Timesheet list and Click on
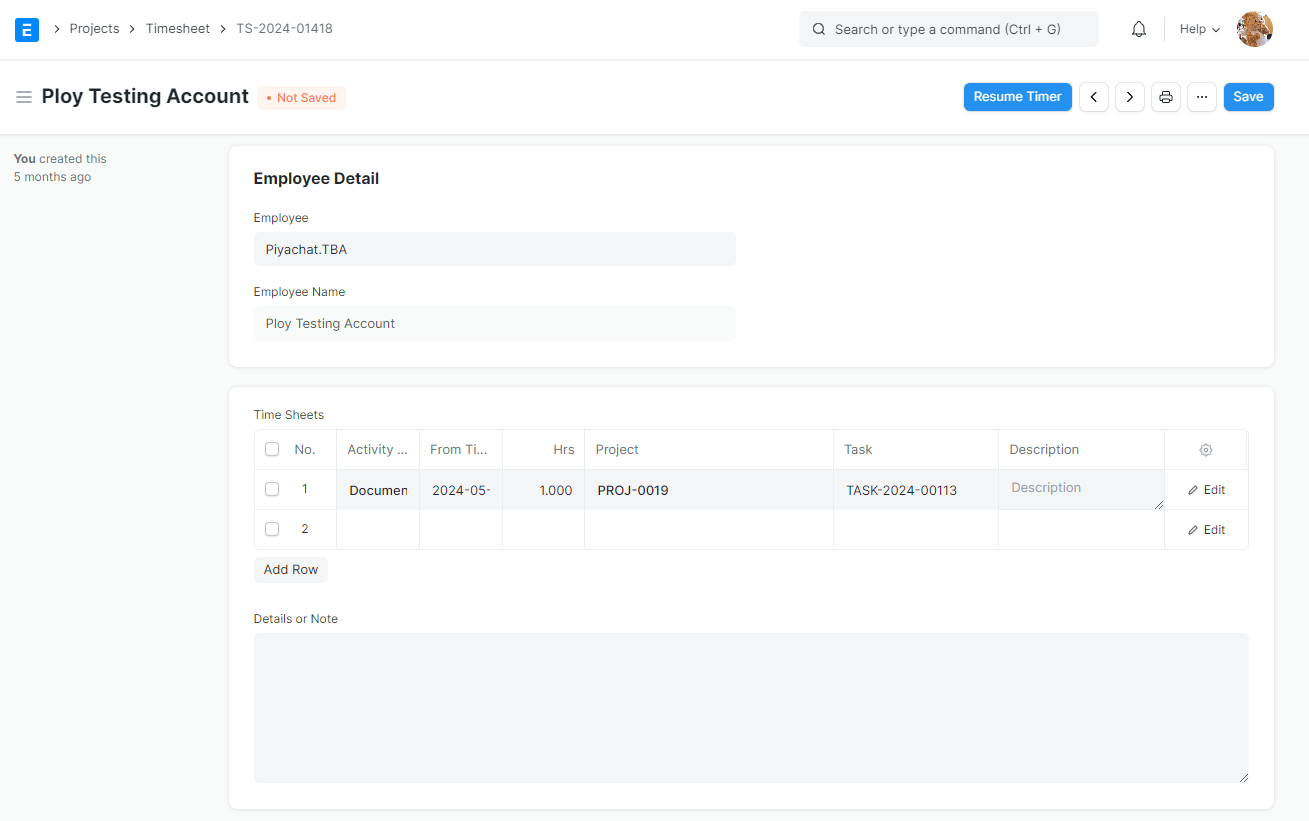
- Add the following details to the field 'Time Sheets'.
- Activity Type : Add the type of activity for which the Time Sheet has been created.
- From Time : Enter the date and time at which the work was started.
- Hrs : Enter the number of hours for which this Time Sheet has been created. One Timesheet can be used to track the work hours on multiple days as well.
- Project : If this Time Sheet needs to be tagged to a particular Project, you can add the name of the Project here.
- Task: Enter the task.
- Click on 'Add Row' to add more such Time Sheets.
- Save and submit
2. Timesheet Cancellation and Deletion
Case 1: If you have not submitted the timesheet yet, you can delete it by clicking [...] → Delete.
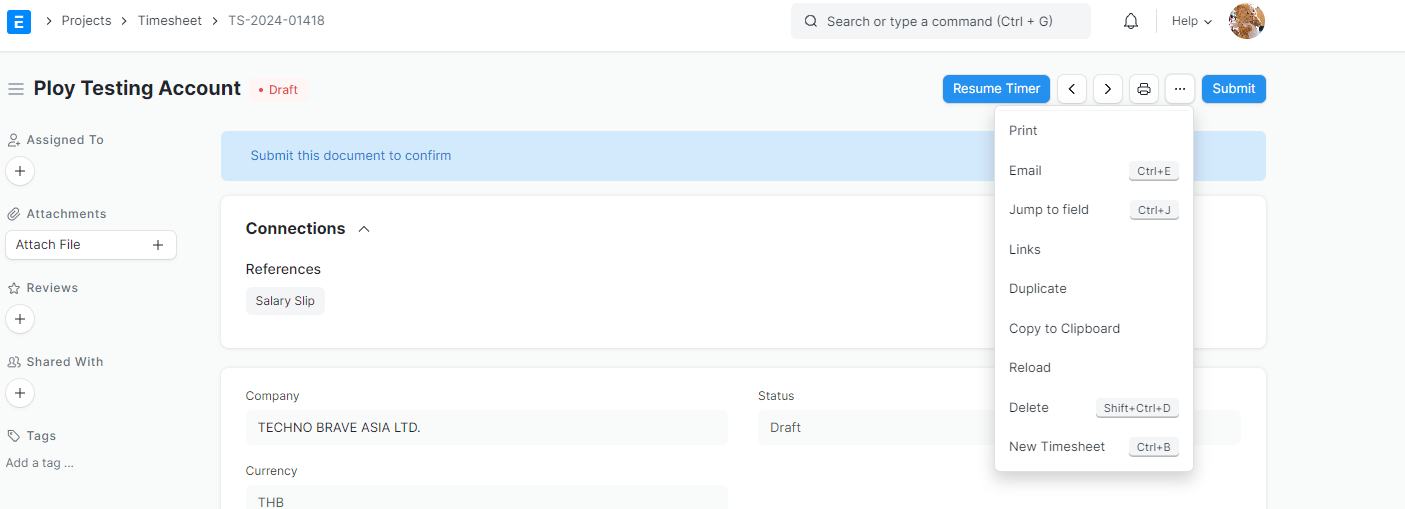
Case 2: If you have already submitted the timesheet, you must cancel it before deleting.

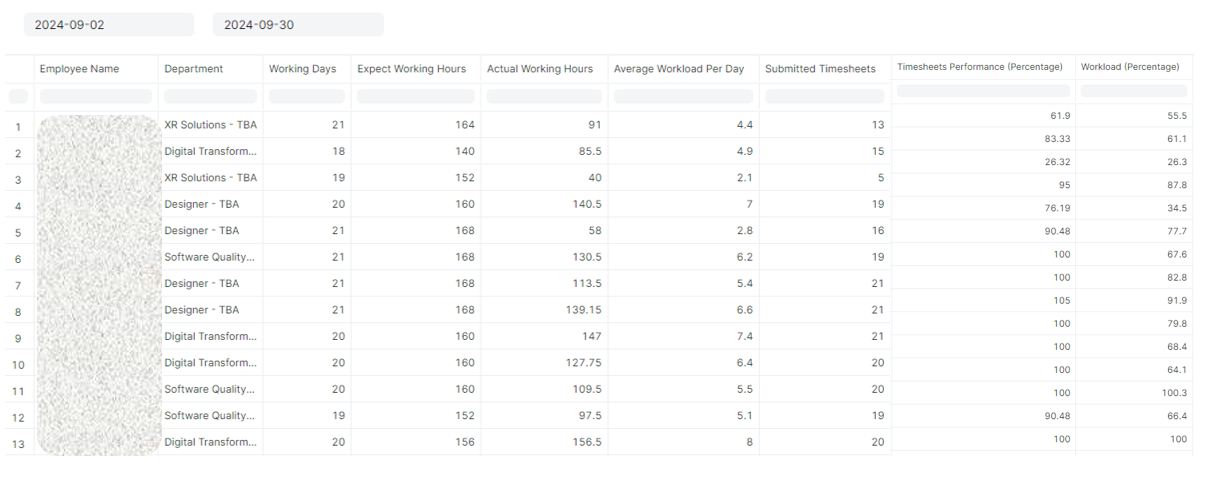
3.Timesheets and Workload Report
The objective of this Timesheets and Workload Report is to provide a detailed overview of employee performance by tracking their submitted timesheets, actual working hours, and workload percentages over a specific period. It helps management assess timesheet compliance, monitor individual productivity
To access the report, go to:
Home > Projects > Timesheets and Workload Report
Then enter the date range to see the report.
More articles on User Guide for Employee