Employee Management
By ERPNext Administrator on October 11, 2024
IntermediateTo access Employee, go to:
HR > Employee
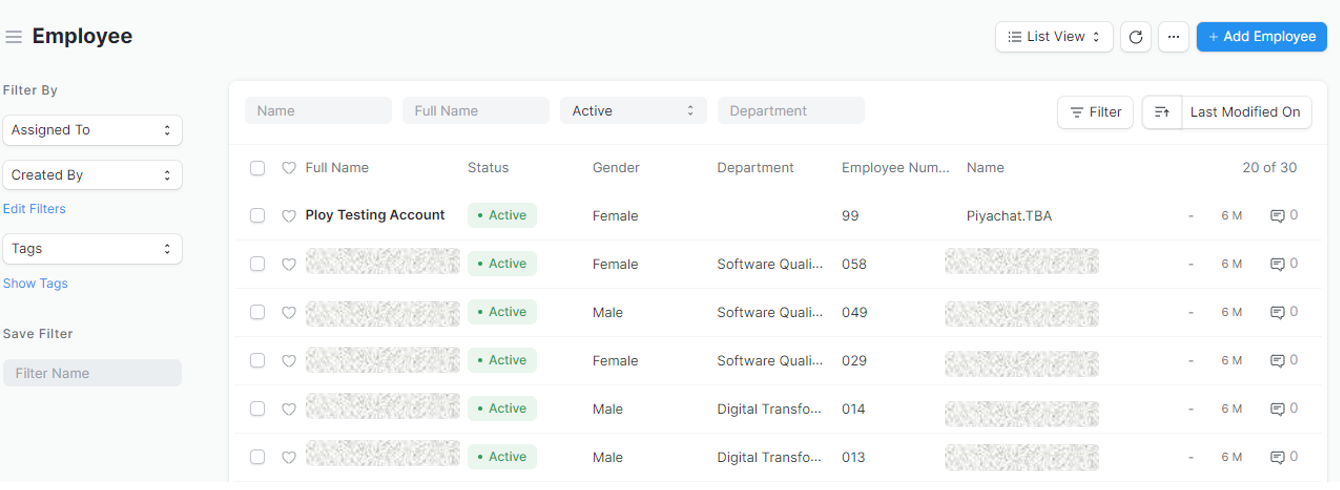
How to create an Employee
- Go to the Employee list, and click on
 .
. - Enter the Employee's personal details such as Name, Gender, Date of Birth, and Date of Joining.
- Save.
Features
Apart from the aforementioned mandatory details, some additional details that can be captured in the Employee master are as follows:
1. Employment Type
You can set an Employment Type such as Intern, Contract, Full-time, Part-time, Probation, etc. for an Employee.
2. Create User
The User ID can be linked to the Employee. Select the User ID from the dropdown list.
If the User ID has not been created, please inform the system administrator to create it and set the user permissions.
3. Joining Details
The Joining Details of the Employee such as the Offer Date, Confirmation Date, Contract End Date, Notice (Days), and Date of Retirement can be captured.
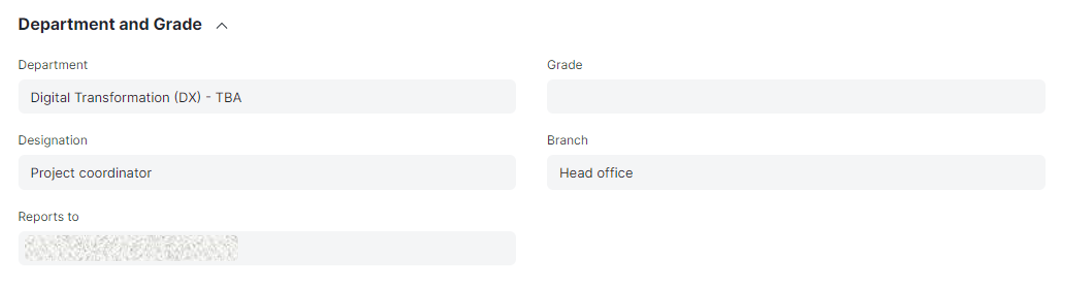
4. Department, Designation and Branch
In a company, the Employees are usually grouped on the basis of Department, Designation, and Branch (Head Office).
In the 'Report to' field, select the head of the employee. The head will be able to see that employee's data in ERPNext, such as timesheets and leave applications.
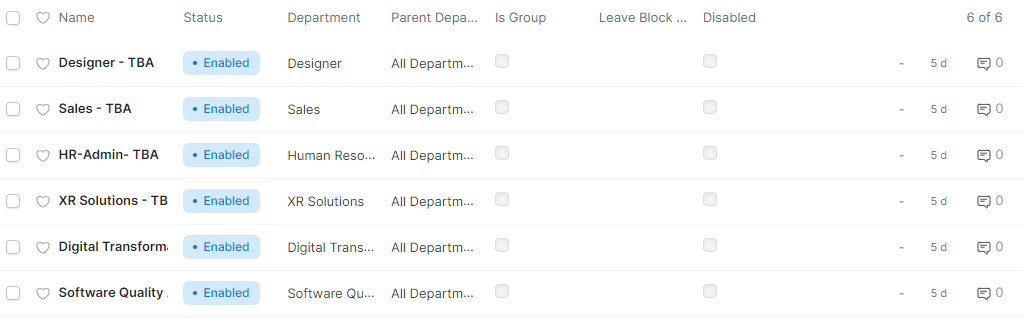
Departments in Techno Brave Asia Ltd.
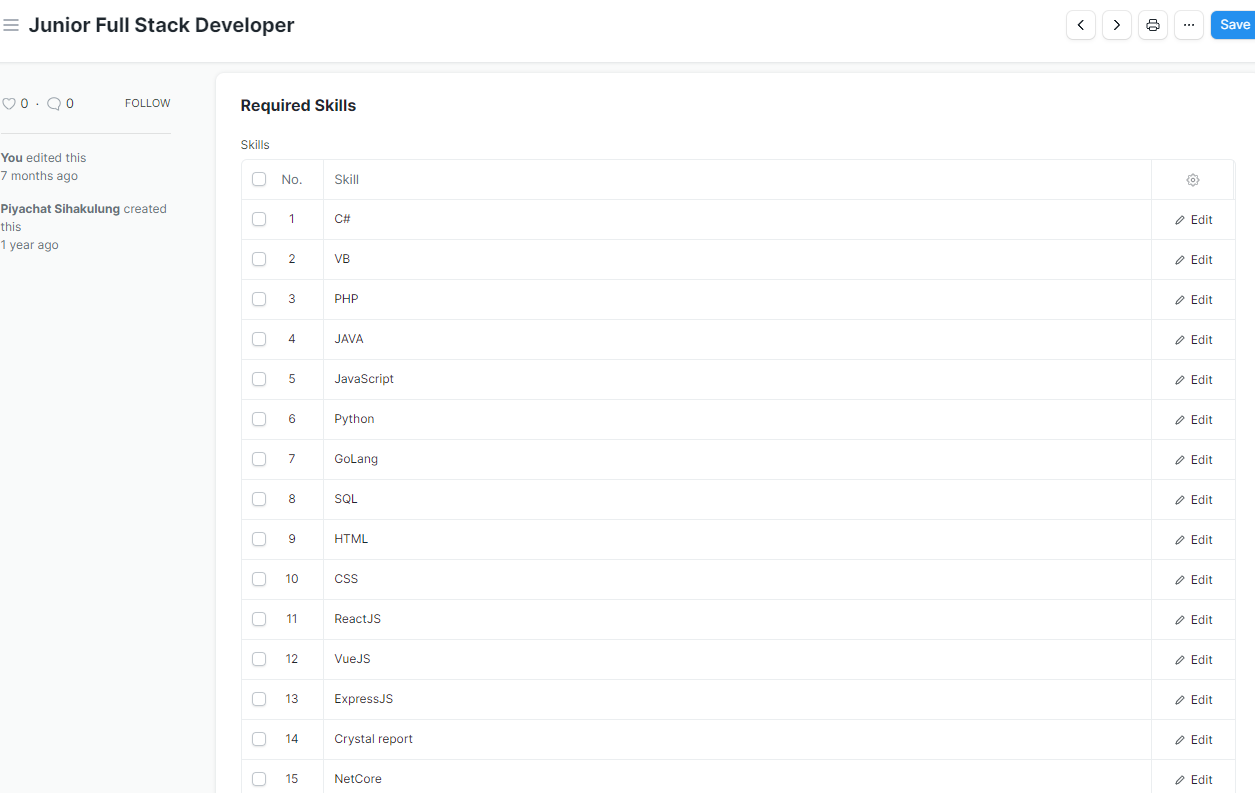
Designation
In the designation details, you can assign required skills for each designation.
For example, Junior Full Stack Developer.
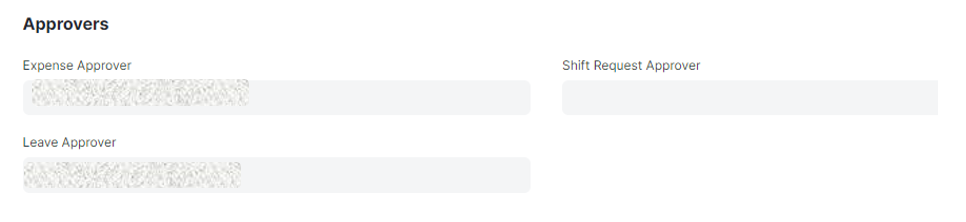
5. Approvers
You can set the expense approver and leave approver for employees in this section.
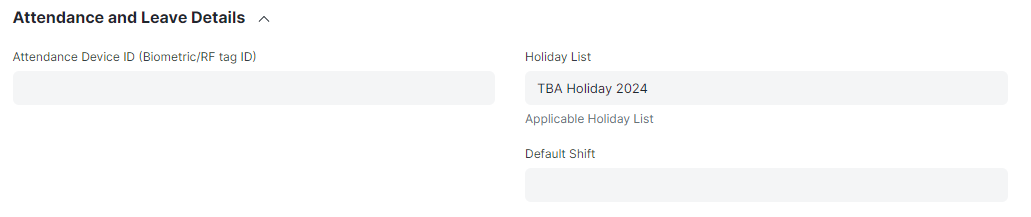
6. Leave Details
In Leave Details, you can save the holiday list information. The holiday list contains the dates of holidays and weekly offs. You can use the bulk update feature to update the holiday list for all employees at once.
7. Contact Details
Employee's Contact information such as Mobile Number, Current and Permanent Address, Personal and Company Email ID can be captured here. In the Preferred Email ID field, either the the Company Email, Personal Email or User ID of the Employee can be selected depending on the user's preference.
8. Personal Details
Personal Details of the Employee such as Family Background details like name and occupation of parent, spouse and children, Passport Details including date and place of issue, Health Details like height, weight, allergies, medical concerns, etc. can be saved.
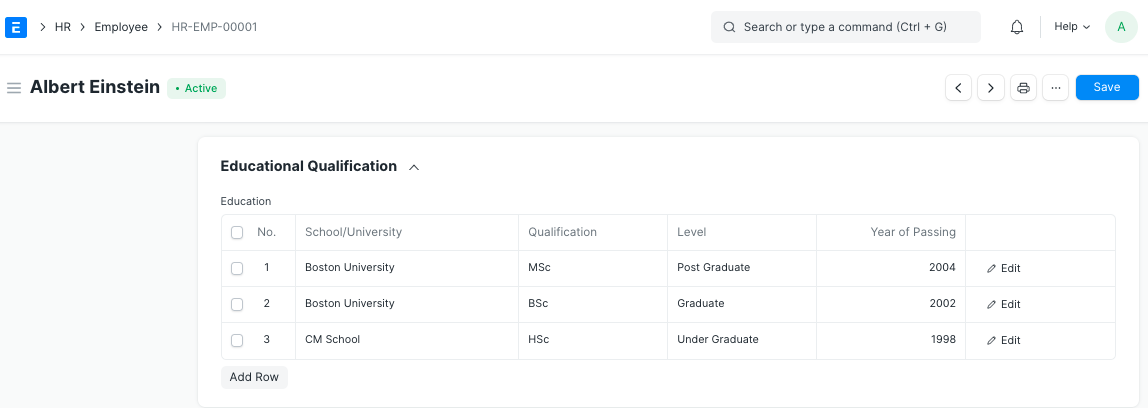
9. Educational Qualification
Here, the Educational Details such as School/University, Qualification, Level and Year of Passing of the Employee can be saved as shown below:
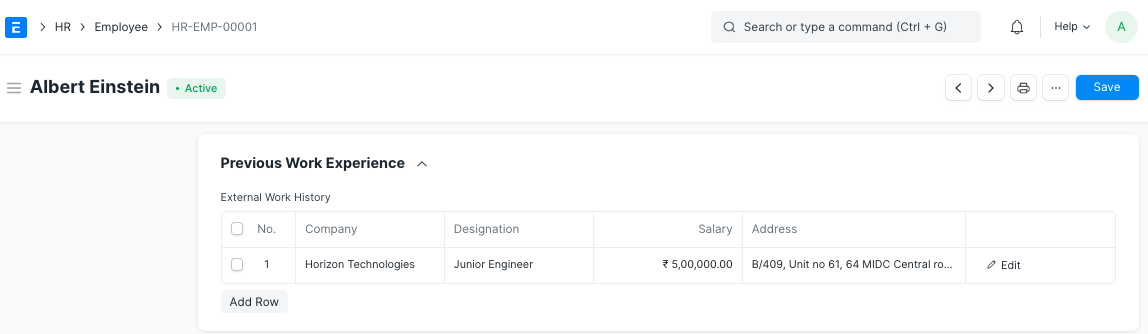
10. Previous Work Experience
Just like Educational Qualification, an Employee's Previous Work Experience can also be captured in the External Work History table as shown below:
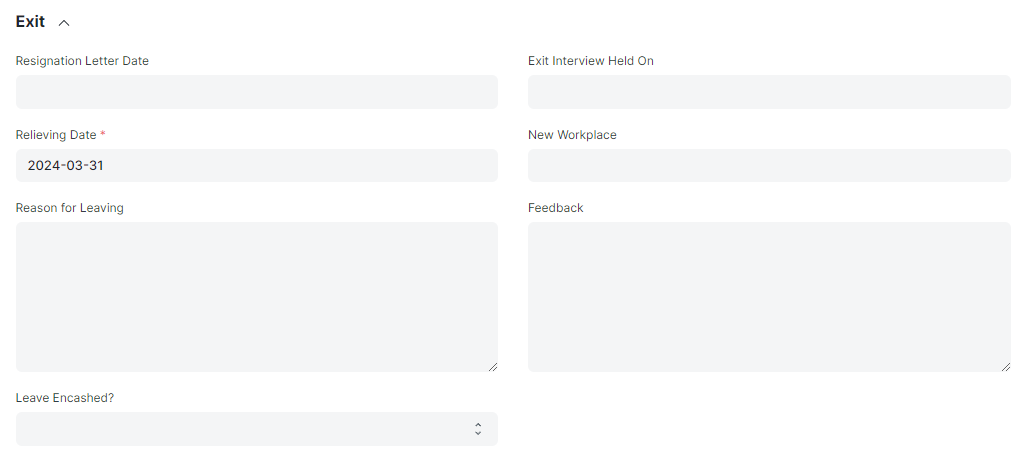
11. Exit
Exit details of the employee (if any) such as Resignation, Exit Interview and Leave Encashment details can be saved. When the status of the Employee is set to 'Left', it is mandatory to fill the Relieving Date.
Note: Once the Employee status is set to 'Left', that particular Employee master won't be accessible in further transactions.
12. Additional Features
Some additional features included in the Employee master are as follows:
- Emergency Contact
- Health Insurance
- Personal Bio
- History in the Company
After setting up the employee, you can see the organizational chart here.
More articles on User Guide For HR-Admin